There are tons of soldering tutorials on the web. Everyone seems to have a slightly different set of suggestions – here’s what worked for me. I refined my technique building a homebrew vector network analyzer (check out Scotty’s Spectrum Analyzer if you’re sick of having unstructured free time in your life). This project involves literally hundreds of surface-mount parts, mostly in the 0603 range (ie – tiny but not super-duper tiny).
People sometimes have a hangup about doing SMD soldering. Given that this is how most electronics these days are assembled and even prototyped, it’s just something you need to know. With hot air instead of a soldering iron, I find SMD soldering to be just as easy or even easier than through-hole work. I get my boards printed from ExpressPCB – I’ll do a later post on that process as well.
Equipment
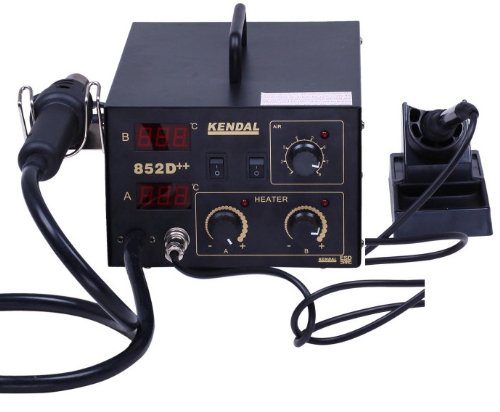
Dual hot air rework and soldering station
I find hot air to be much, much easier to work with than an iron for surface mount parts. It is basically a glorified hair dryer. You can adjust both the temperature and the strength of the flow, and you can use different sized nozzles. I use an iron for soldering through-hole stuff or particularly large components. I like the chisel-shaped iron tips since they deliver a lot of heat and aren’t prone to bending. Whenever you use your iron, wipe it off with a brass sponge afterwards and tin the tip before storing it. This prolongs its life. I really like the Kendal 852D++. It’s pretty much everything you need for soldering – you can adjust the temperature of the hot air and the iron independently, and can tailor the airflow to what you need. It’s about $100 on Amazon.
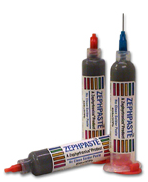
Lead Soldering Paste
Yeah, I know lead is toxic and evil. Wash your hands after handling it. For production-level manufacturing, you’ll want to use the lead-free solder. But for prototyping by hand, here’s why lead solder is way better (I’ve used both): it flows at a significantly lower temperature and has very helpful surface-tension characteristics. This makes your work much, much easier. Granted, if you’re doing production-quality or other critical work, you’ll probably need to carefully follow the storage instructions for the paste (which may include keeping it refrigerated and using it within 6 months). But for prototyping, I don’t worry too much about these guidelines. You’ll need a tip and a plunger to use this stuff…it’s essentially a big syringe. 10cc’s of paste will last you a very long time. I use 20 or 22 gauge tips. Buy everything from Zephyrtronics.
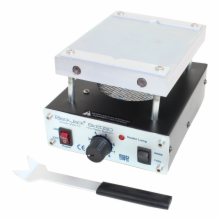
Hot air pre-heater
This is not absolutely necessary and I’ve done plenty of soldering without using one. But for certain jobs, it’s very handy. Mine was very reasonably priced around $100 – I have no idea why some of these are listed for like $1000 for essentially a thing that blows hot air in an upward direction. The beauty of the pre-heater is it brings your solder paste to just below the reflow point, so it takes only a little bit of additional hot air from your nozzle to put it over the edge. The other benefit is for large chips with many leads and a small pitch – it allows you to heat them uniformly from underneath. If you’re using just hot air, it’s harder to get all the solder to flow around a big component at the same time, which is what you want because surface tension will pull the thing directly onto the correct pads. With the pre-heater, it is easy to give the chip just a bit of hot air so everything melts simultaneously. I got mine from Circuit Specialists.
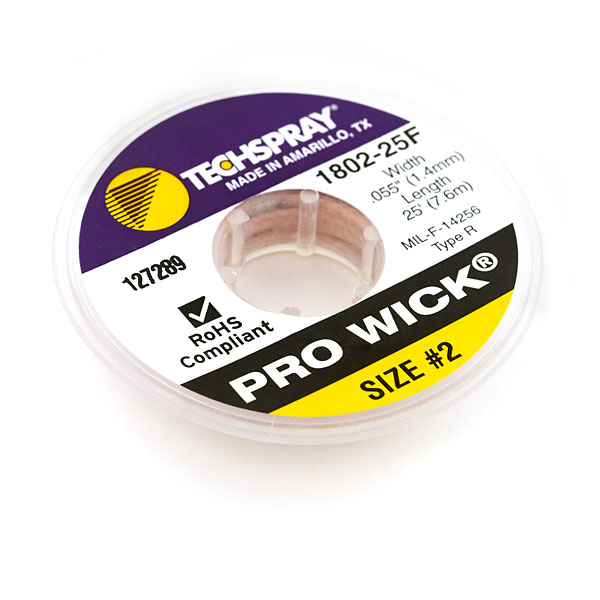
Solder wick
You use this stuff in a couple of situations: (i) when you need to remove extra solder, (ii) when you mess up and need to remove a component, and (iii) when you need to clean excess solder off of pads. Make sure you use plenty of heat with the iron when using solder wick. It can’t be reused, so once you see the wick becoming saturated with silver-colored solder, clip that section off and use fresh wick. Get it from Sparkfun. I love these guys! I always try to buy from them if they carry what I need.
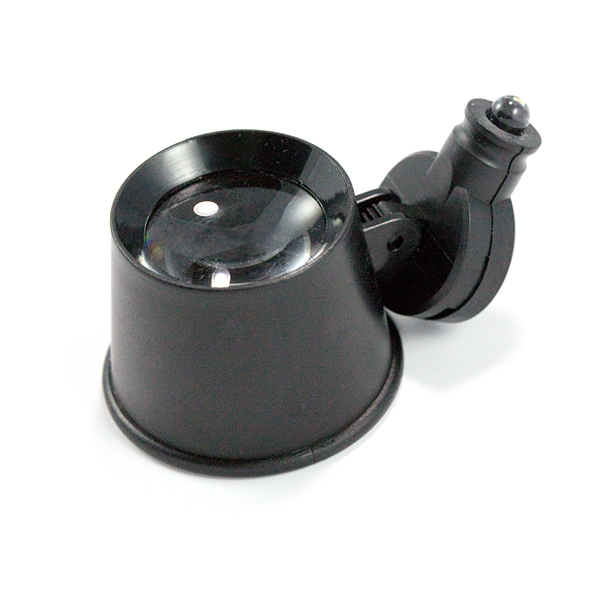
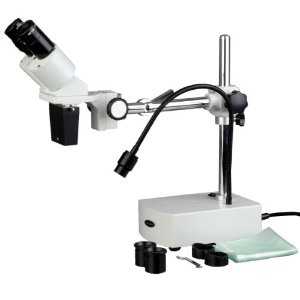
Jeweler’s Loupe and/or 10x Stereoscopic Microscope
The loupe is a magnifying glass you hold in your eye. I don’t find it particularly comfortable, but it is good for inspecting solder joints quickly. A much better but more time-consuming way is using a stereoscopic microscope. These make it really easy to get up close and personal to all your solder joints. Many hard-to-find bugs can be traced to crappy joints, so it’s well worth your time inspecting. I use the AmScope SE400-Z – it’s about $200 on Amazon and works very well. You can also use it for examining insects and spiders, which is tons of fun in 3D (and will make you glad your not 2 mm tall). I’d recommend a scope that’s made for inspection rather than, say, lab work. You can get the loupe from Sparkfun.
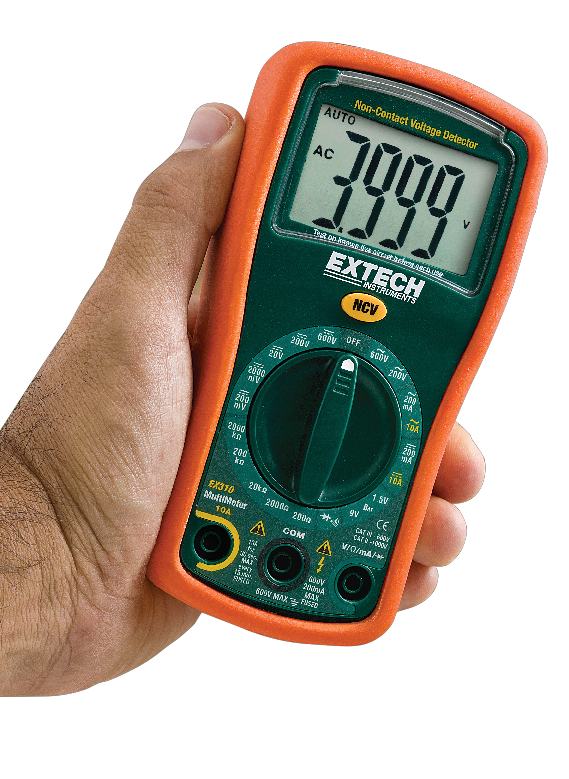
Multimeter
A quality multimeter is a great investment – you can use it for all sorts of electronics work and it’s worth getting a good one. I like the ones that have an audible indicator for a conducting circuit. The premium brand is Fluke, but these are a bit more expensive. I’d bite the bullet and get a Fluke if you’re serious about doing electronics projects – your multimeter is one of the most important tools you’ll have.
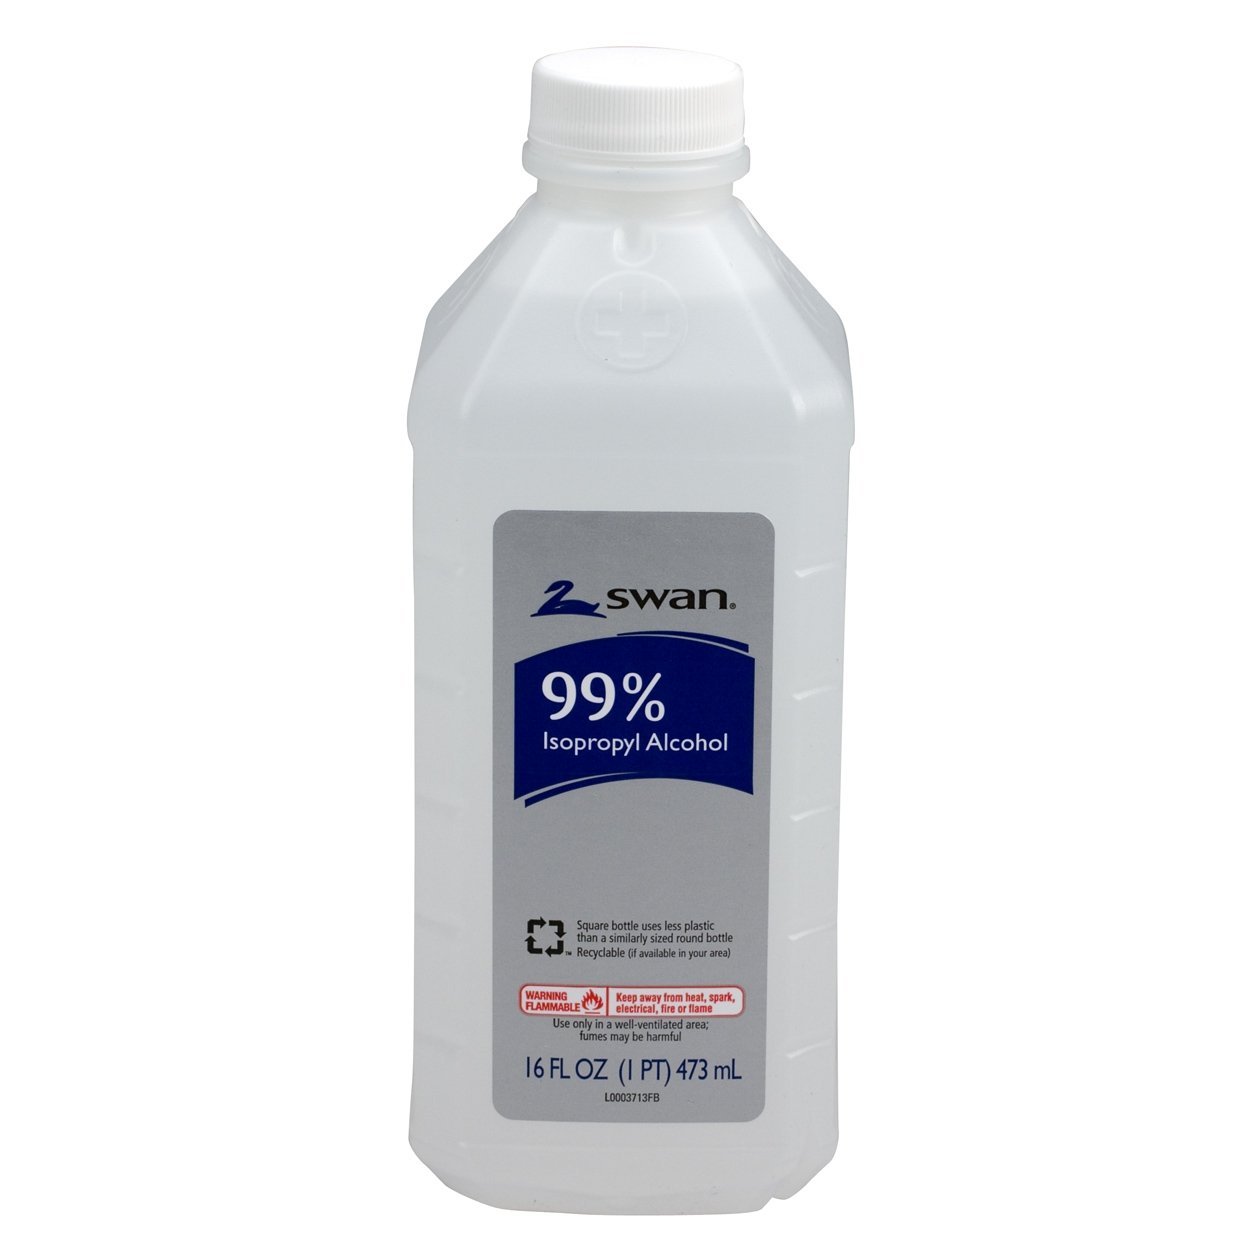
Isopropyl Alcohol
Look for 90% concentration or more. Use this to wash off the boards before your work – particularly for important or delicate soldering, and to wash off flux residue once you’re done. I use some Q-Tips and generous amounts of alcohol (for the boards, I mean…). Probably a better way of applying this is with a stiff flux brush, which you can get at a hardware store. Get the alcohol on Amazon or at a drug store.
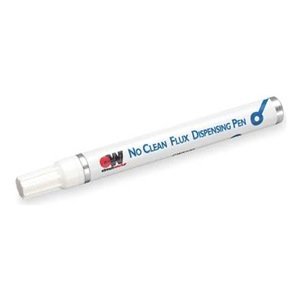
Flux pen
I only use flux with through-hole work. Solder paste already has plenty of flux integrated into it. Be sure to get flux intended for electronics and not plumbing.
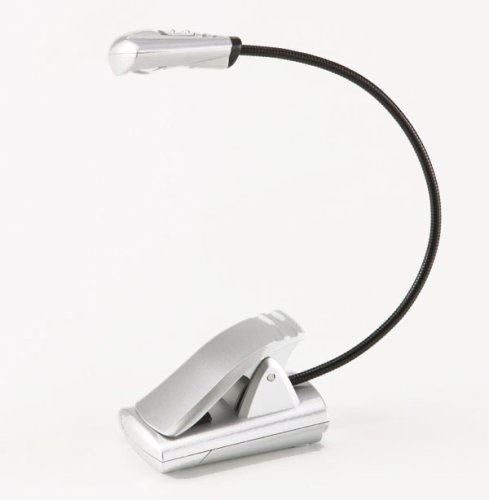
Clip-on LED Light
This is very useful for getting plenty of light in hard-to-see places. Get it on Amazon.
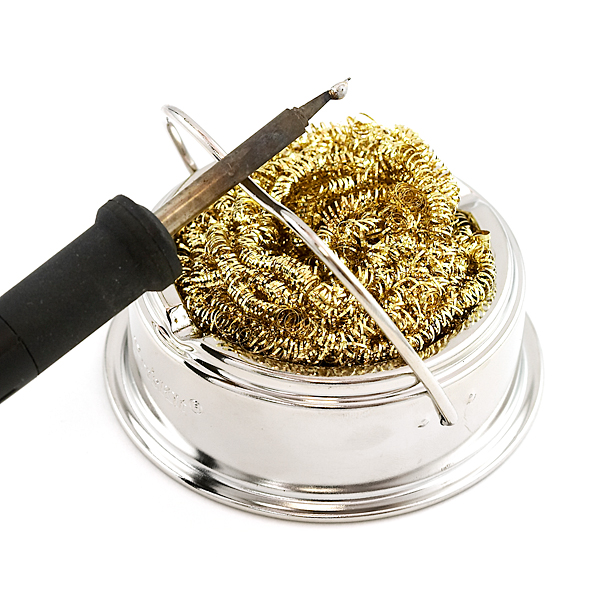
Brass Wire Soldering Tip Cleaner
This comes in a little container and doesn’t require re-wetting each time you use it (unlike a sponge). Use it whenever you use your iron. OK it’s not actually necessary for hot air work, but I’m mentioning it anyway. Sparkfun carries these.
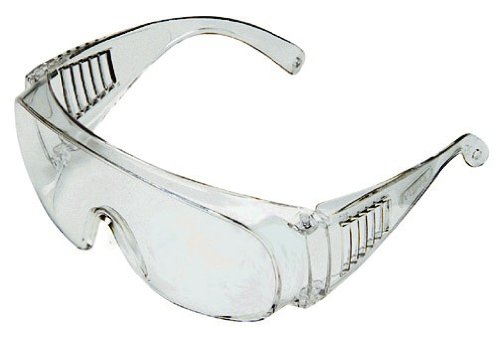
Safety Goggles
Always wear these when soldering. Molten solder can splash and you don’t want it in your eyes. Get goggles that are really comfortable and easy to see through so you don’t think twice about wearing them. Amazon carries these.
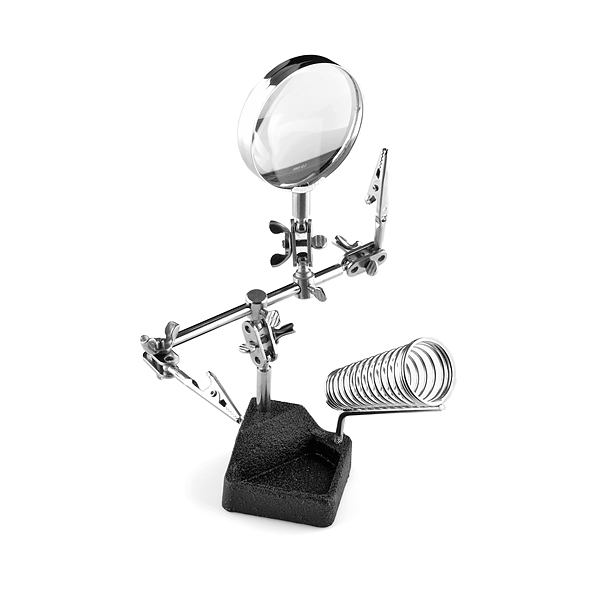
Third Hand or Similar Clamp System
You want the PCB sitting very still when you work on it. With this gadget, I removed the magnifying glass and soldering iron holder. You can always just place your PCB on the table if this works best. Sparkfun has these.
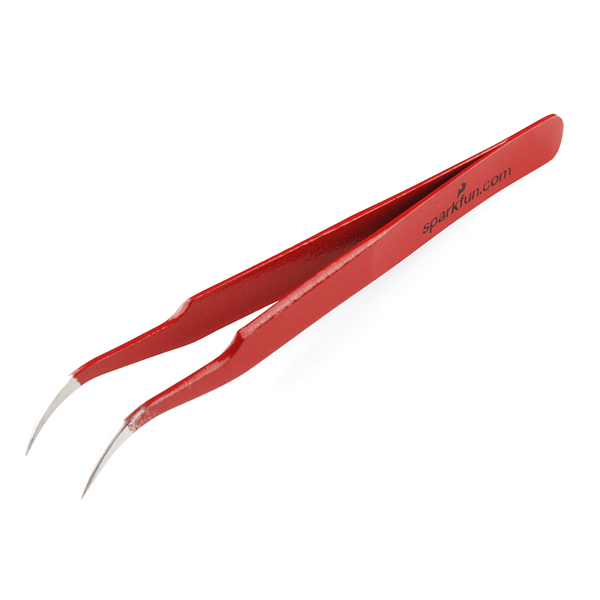
ESD-Safe Tweezers
I like the curved ones for placing small components. These are in near constant use while prototyping electronics. Sparkfun has nice ones.
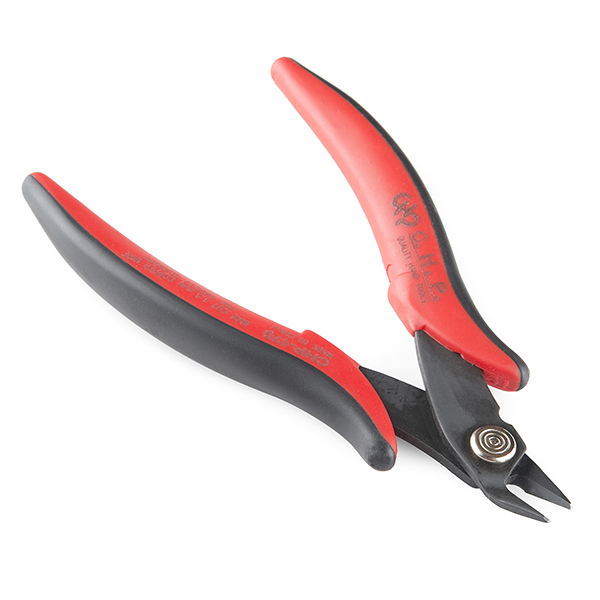
Flush Cutters
A good pair of flush cutters is very handy for cutting wire and leads. Hakko makes good ones and Sparkfun carries them.
Extra Credit: L/C Meter
For situations where the precise value of your caps (or coils) is important, you’ll want to test them before soldering into your circuit. I like the Almost-All Digital Electronics kit. They’ll send you the pieces and you can put it together! Don’t bother measuring your standard bypass caps, where small variations won’t really matter. This test is really for filtering circuits and the like. Since SMD caps are frequently unlabeled, you have no way of knowing for sure what the value of a given cap is without testing it. Occasionally, a cap is *not* the value it’s distributor or manufacturer states!
Procedure
With the right tools and a bit of practice, soldering is easy. The biggest time suck here is correcting mistakes, so remember the Golden Rule:
- Think thrice
- Measure twice
- Cut/weld/solder/bend/saw/glue/paint/print/lase/commence-fissile-reaction once
-
Set out all the components you’ll be needing
I usually do batches of the same component at each go, so I’ll solder all the .1uF caps at once, then turn to all my 330 resistors. If you’re dealing with ESD-sensitive components (opamps, most integrated circuits), remember to ground yourself first (get a ESD wrist strap if you’re particularly paranoid). As I’m taking the pieces out of the ESD-safe bag, I try to touch them only with my tweezers.
-
Apply solder paste
Apply a bit of paste to the pads where you’ll be attaching the parts. You don’t want solder paste sitting out in the open for too long, but don’t worry much about this…just don’t leave it sitting for over an hour or so. A bit of paste goes a long way. For fine-pitch chips, smear a bit of paste over all the pads. You’ll know if you put too much paste on if you end up with lots of solder bridges later.
-
Consider using the pre-heater
If you have a difficult component like a big chip with lots of tiny leads, you might want to use the pre-heater. In that case, put your PCB securely over the pre-heater. Adjust the heat so the solder warms and spreads out, but does not actually melt.
-
Place the parts using tweezers
Try to be precise, but don’t worry if the parts aren’t exactly centered on the pads – surface tension will take care of that. This goes without saying, but make very, very sure you place all the parts on the right pads, in the correct orientation. It is just so much easier to avoid mistakes in the beginning than to go through hours of debugging only to discover you placed a part backwards. Everybody does this from time-to-time.
-
Solder the parts
Adjust the hot air to the middle of its temperature range. Adjust the flow so it’s pretty low – you don’t want to blow the parts off of the pads. Apply the hot air uniformly around each part, holding the nozzle about 10 cm or so above the component. You should see the solder reflow after about 5 seconds or so if everything is adjusted right. What you’re looking for is the part to literally be pulled into position by the surface tension of the molten solder. Make sure all the pads have melted. If things aren’t melting after about 10 seconds, crank up the heat a bit. I keep the air flow pretty low.
-
Cool and inspect
Remove the heat and, once you’re done with all the soldering in this batch, let the PCB cool naturally and inspect. You’re looking for two issues: (i) leads that are not soldered securely onto their pads and (ii) solder bridges. For (i), you should be able to see a gap (with magnification this is much easier) between the lead and the pad, or a very thin filament of solder that could easily become a hard-to-find bug when it breaks. If you find this, just apply a tiny amount of additional solder paste and repeat. For (ii), this can be a bit harder, especially for fine-pitch components. My first attempt to fix is to just heat it again using hot air. If that doesn’t work, I gently nudge the piece with a pair of tweezers while heating it with the hot air with my other hand while the solder is liquefied. This usually does the trick by essentially jiggling all the liquid solder into place. If that fails, you can use a very thin blade to gently cut the bridge.
-
Test the leads
Use your multimeter to test a good (at least conducting) solder joint by placing one probe on the component lead itself and the other on the trace it attaches to. You should see very low resistance (or if using the audio circuit detector, you should hear the beep). This is a great way to avoid hard-to-find bugs later on.
-
Fixing errors
If you mess up and need to remove a component, just heat it up with hot air while gently pulling up on the component with your tweezers. It should come off easily after a few seconds. If you have a bigger part that is hard to uniformly heat with hot air, use the pre-heater as well. Once the part has separated, use solder wick to clean up any excess solder left on the pads (this may not be necessary if there’s just a small amount).
-
Wash the board
Wash the board with isopropyl alcohol once you’re done. This removes flux residue. I use Q-Tips and generous amounts of alcohol.
One more word on the toaster oven reflow method that many people use. I tried this but just didn’t find it as useful, particularly when you have dozens of components to solder on to a single PCB. I find it easier to work in batches rather than needing to do the entire board in one go. It suits my short attention span better*, and you can fix any problems right after you solder a batch rather than waiting until the entire board is cooked. And if you use the oven method and then need to fix something afterwards, you’re back to using hot air anyway. So I’d just stick with using hot air and a soldering iron for everything and would dispense with the toaster oven.
That’s it. This procedure got me through the entire construction process of the Vector Network Analyzer and some other projects as well. These are all great tools to have and should get you through many years of electronics projects.
* I find that often my motivation is inversely proportional to the length of the work-reward cycle. If you work in small batches, this cycle is tighter, and it’s easier to stay focused and motivated. The reward is watching surface tension literally just pull the part right into place – that just never gets old! The other reward is doing a small batch of work, testing, fixing, and getting everything to work. Don’t wait too long between tests!
